**This post contains affiliate links to Amazon. I love coming home to boxes on my doorstep.
It’s been a while since I cut a piece of wood. It’s been so long, that I didn’t even realize I no longer had a circular saw. I had a few other kinds of saws but I don’t recall where the circular saw went. Well I have a clue it may have made it into my daughters moving trailer along with a few other tools that seem to be missing. In her defense, she is the only one that has used the tools in the garage for more than a few years now. I can see how she would take ownership of them.
It made for a good excuse to go shopping but before the shopping I had to finish cleaning the garage.
Tools needed: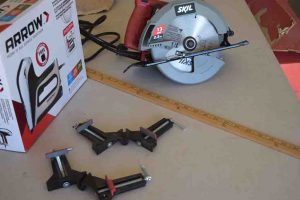
Circular Saw
Drill
Rulers
Materials needed:
Fabric
Batting
Screws
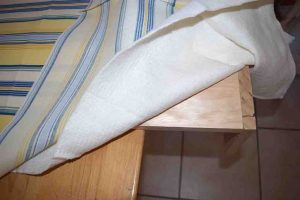
Prep Wood
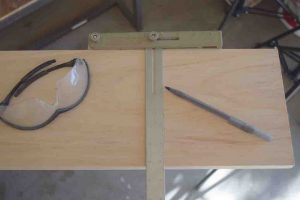
First you will need to measure the width of wood that you will need. Then measure how deep you want it. Remember that you will loose 1/2 inch on one or the other depending on how you butt join the pieces together. Mark and cut your pieces of wood. Don’t forget your eye protection, there is nothing like saw dust in your eye.
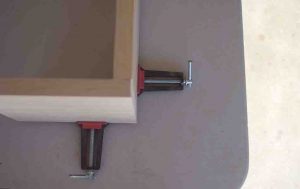
Screw the sides to the front piece of wood. I don’t usually have an extra hand around when I’m working so these Corner Claps work great and holding my wood while I screw the pieces together.
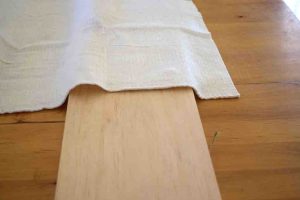
Then cut your pieces of batting and fabric. For the batting you will want it to cover the front and go around and a few inches down the back. You don’t want to overlap it, you can make it meet if you want, but I prefer not to. With my old staple gun it was hard to go through so many layer, but with my new one I don’t even worry about it. I still didn’t want to waste the fabric so I stuck to the minimum that I’m used to calculating.
Then measure and cut your fabric. You will want to make sure you have an overlap of 3 to 4 inches on the sides and the back. My customer found this great outdoor fabric for $4 a yard in the clearance bin at Hobby Lobby.
Then fill everything over and start stapling. I start in the middle and work my way out.
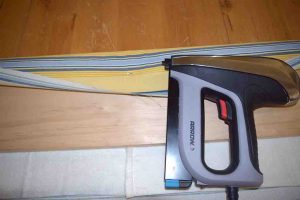
See my new Staple gun, ain’t it pretty! Work your way to the end and bring the fabric around and staple in the center. Your corners will start to naturally fold in. Which is what you will want to do, fold in the excess into triangles.
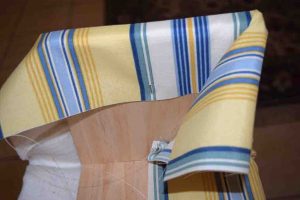
Once you have folded over and stapled one side then repeat the process for the other side, except you will want to fold under about an inch of fabric so that all of the raw fabric has been stapled to the inside.
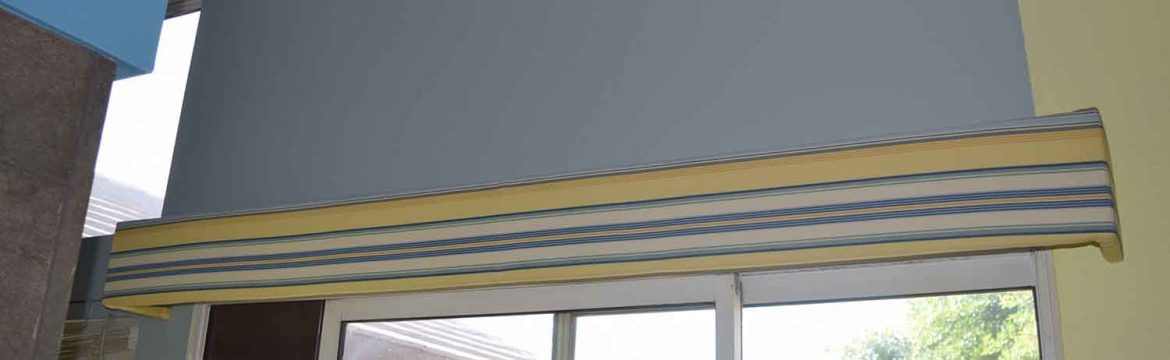
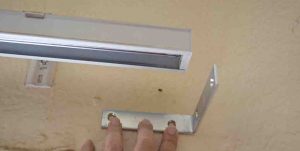
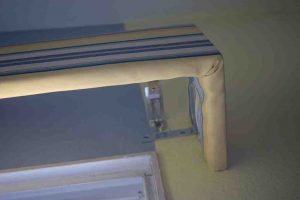
Now mount your Valance you will want to buy some L brackets at least 3 inches in order to hold the weight of the wood. You will want to measure and mount the brackets to the wall first, if you attach them to the Valance first you won’t be able to get a drill or screwdriver in between the wall and the valance to attach the bracket to the wall.
Please feel free to email me if you have any questions sonia@modesteve.com