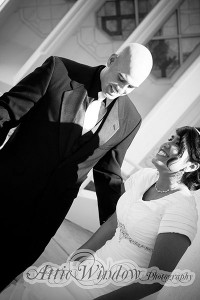
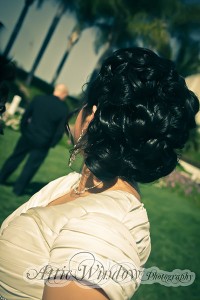
The more I do these wedding dress conversions the more I think that maybe I need to make a pattern or step by step. But that would be so hard since I wouldn’t know the level of the sewer trying to attempt this conversion. Well maybe it will develop into a class. In the meantime if you have any questions please please feel free to email me sonia@modesteve.com.
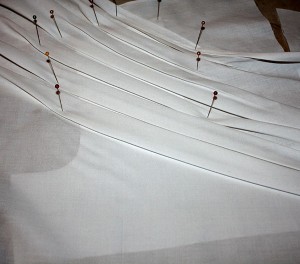
This one was a bit more challenging, because the entire dress had Rouching (that’s the folds and pleating that gets created when the fabric is gathered). The middle part of the dress had tight gather’s, done by using a stitching line and gathering up the fabric, easy. But the upper bodice were I would be placing the addition next to had big folds, more like large pleats.
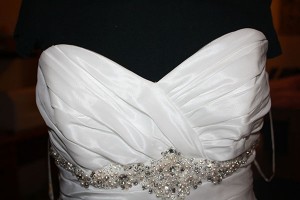
I had to think long and hard as to how I was going to make the addition work. I finally decided there wasn’t going to be an easy way out, even if I only had two days to do it in. So I just started hand manipulating the fabric over my pattern pieces.
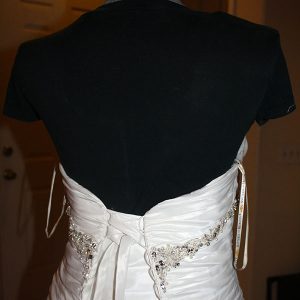
The back was also a bit tricky because it had a lace up back, so the only thing that was going to work without having to recreate more lace up back (there was no time for it) was going to be a separating zipper. So that’s what I did and decided to do it off to one side instead of up the center, it would have been distracting.
Some of you might have read my other post about this dress, and know that the dress left my house without me putting it back on the dress form and taking a picture of the finished project. I do that a lot. But Luckily a friend photographed the wedding, So here are some pictures:

